
Main Sequence Station Building Guide: From Command Module
Build a Main Sequence station that still makes sense at 30 modules: command core, expansion rules, docks, corridors, power, and a clean module order.
A Main Sequence station is not a single building you place and upgrade. It is a graph of modules that must touch, share power, and move items through conveyor ports. The first ten modules are easy. The thirtieth is where a bad decision becomes a permanent detour every time you need to add a machine.
This guide covers the construction rules, the module costs that matter, and a build order that leaves room for the factory you will actually want.
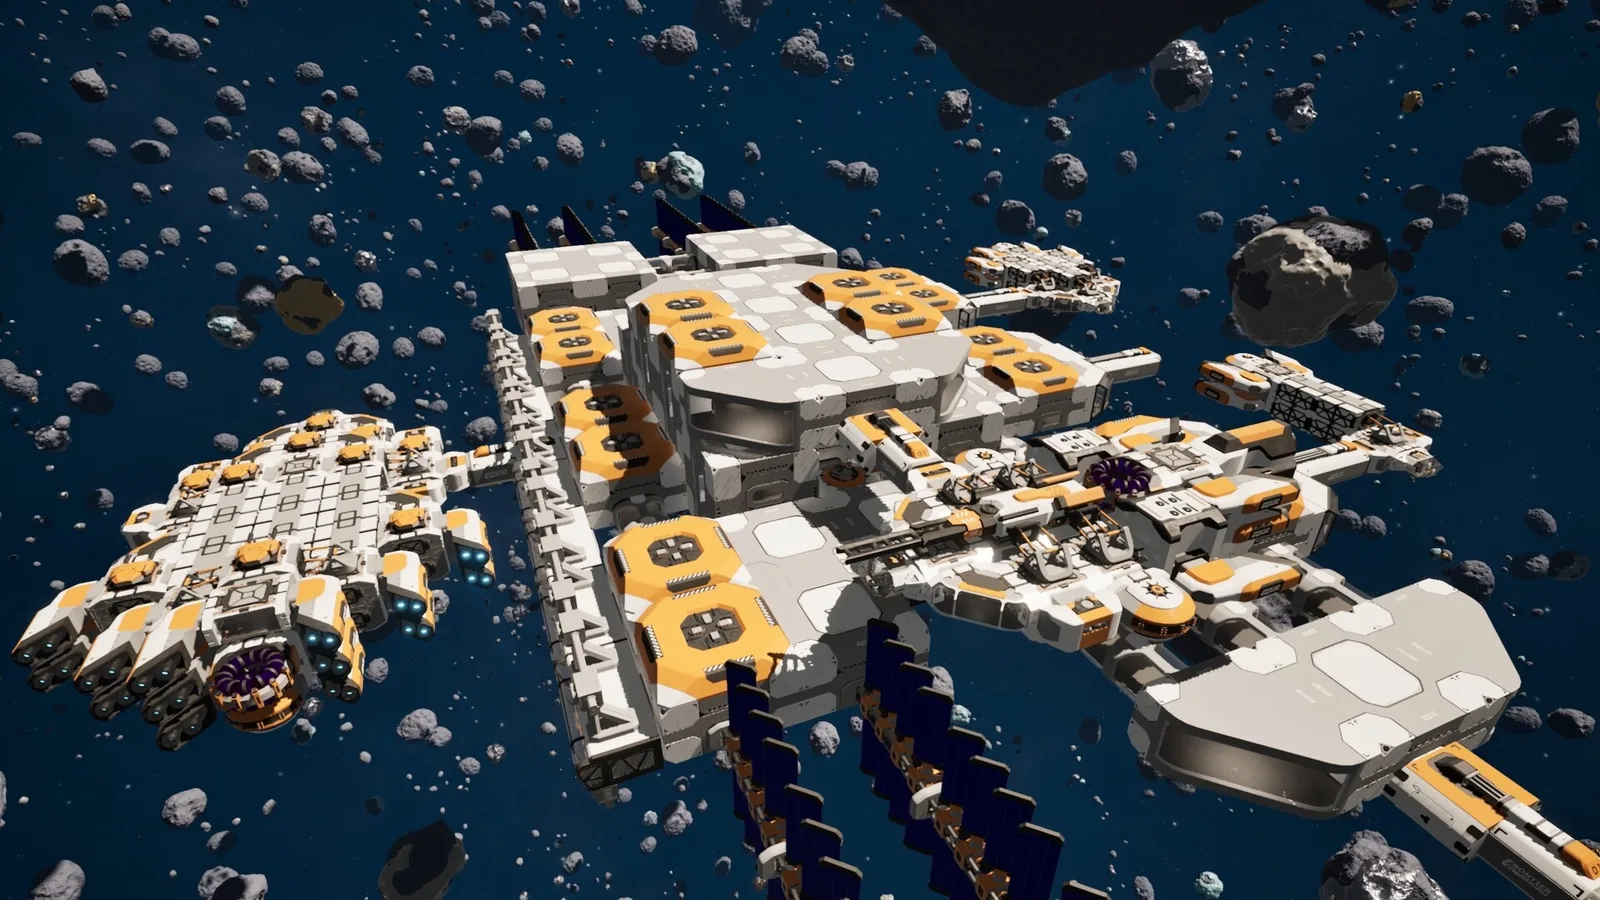
Start with the Command Module, expand only from connected blocks, and keep the dock facing open space.
Start with the Command Module, not the factory
The Command Module costs 5 Hull Plates and 10 Lightweight Frames. It is the anchor: every other module must connect to it, directly or through a corridor. It also contains the Design Console, the circular interior terminal that opens station building mode.
Place it with three questions in mind:
- Where is the ore? A station near a nickel/titanium cluster beats a station in a beautiful but empty location.
- Where will the dock go? The dock should be reachable without flying around the station. Put it on the side facing the belt.
- Which direction will the factory grow? Pick a growth axis and keep the other sides free for power and defence.
You can remove and rebuild modules, so the first placement is not permanent. But moving the Command Module means rebuilding the graph, so spend a minute on the decision.
The three expansion rules
The demo enforces three rules that shape every layout:
- Connectivity. A new module must touch an existing module or a corridor connected to one. You cannot place a detached wing and bridge it later.
- Container occupancy. A container cannot be removed while it holds items. Empty it into another container or a ship first.
- Power. Generation and demand are station-wide. A module does not need a local generator, but the station does need enough total output.
The first rule is the one that causes ugly stations. If you build a long corridor to a refinery, every future module on that branch must also connect through the corridor. Build branches deliberately, not as emergencies.
Module costs and what they buy
| Module | Cost | Purpose |
|---|---|---|
| Command Module | 5 Hull Plate, 10 Lightweight Frames | Anchor, Design Console |
| Station 1×1 | 10 Hull Plate | Small machine room |
| Station 2×1 | 15 Hull Plate | Two-machine room |
| Station 2×2 A | 40 Hull Plate | Large production hall |
| Station 2×2 B | 10 Reinforced Plate | Armoured large hall |
| Corridor | 5 Hull Plate, 5 Reinforced Glass | Connection |
| Corner | 5 Hull Plate, 5 Reinforced Glass | Turn |
| Station Armour | 5 Hull Plate | Protection |
| Dock | 5 Hull Plate | Ship docking, two belt ports |
| Industrial Dock | 20 Hull Plate, 20 Basic Circuits, 10 Servomotor | Eight belt ports |
| Docking Collar | 3 Hull Plate | Ship-side docking |
The 2×2 halls are the best value for production. A single 2×2 A at 40 Hull Plates holds four 1×1 modules' worth of floor for the same material as four 1×1 rooms, but with fewer walls and shorter belt runs. Use 1×1 rooms for isolated machines and 2×2 halls for production blocks.
The Industrial Dock is expensive because it solves a real problem: eight conveyor ports let you route raw ore, plates, and science items without sharing a belt. Build it when your first dock becomes a traffic jam, not before.
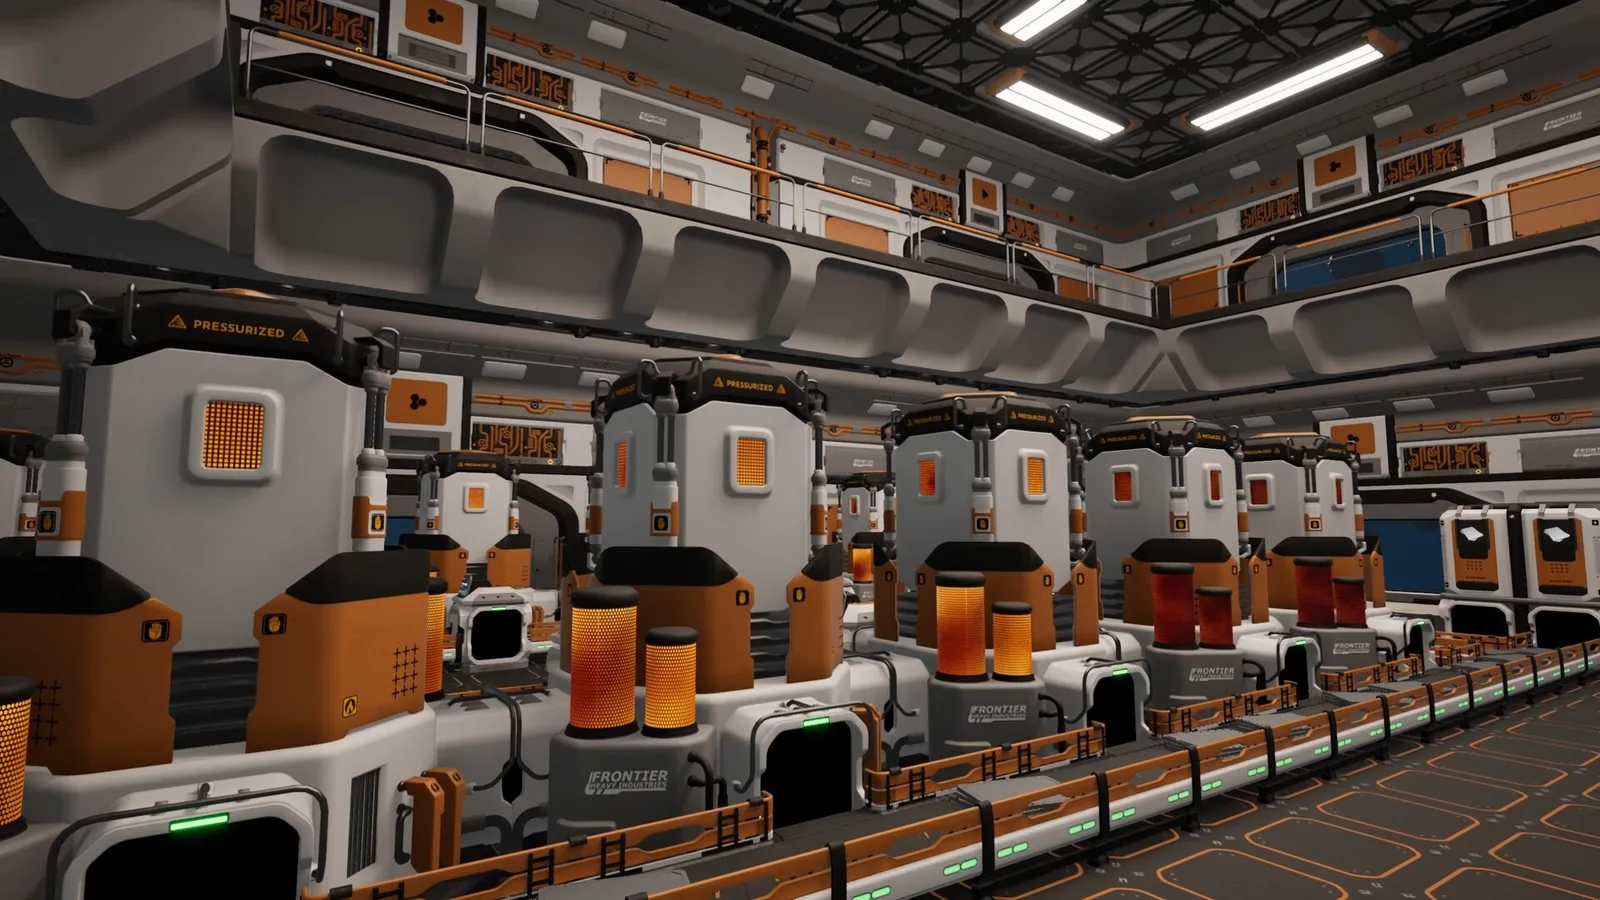
Build order that avoids rework
A station that works at 10 modules and still works at 30 follows this order:
- Command Module.
- Dock, on the belt-facing side.
- One solar panel and one container.
- Refinery + assembler in a 2×1 or 2×2 hall.
- Second container for plates.
- Mining Drone Bay, adjacent to the refinery.
- Research lab, on its own branch.
- Second power block.
- Industrial Dock, replacing the first dock's traffic.
- Shipyard, on a separate branch with its own power.
The key is that power and logistics come before production expansion. A station with three production halls and one solar panel is not a factory; it is a queue.
Corridors are structure, not decoration
Corridors cost Reinforced Glass as well as Hull Plates, and they are the only way to connect distant modules without placing a room in between. Two habits keep them useful:
- Build a spine, not a spider. One main corridor with short branches is easier to extend than a web of point-to-point links.
- Leave a free port at every junction. A corridor with all four sides occupied cannot be extended without removing something.
If you are building a large station, plan the corridor spine before the first production hall. It is much cheaper to leave space than to rebuild a branch.
Docks, filters, and ship flow
The standard Dock has two conveyor ports and can load and unload automatically, but it only unloads the items you configure. The 21 October hotfix fixed the “No item” filter option, which means filter discipline is now the main defence against a dock that silently ignores cargo.
Use separate docks for separate streams when you can:
- Raw dock: ore from mining ships.
- Parts dock: plates and frames from remote stations.
- Science dock: science items and relics.
If you only have one dock, set the filter to the highest-volume item and route everything else through the Industrial Dock. Do not rely on the ship's filter alone; both sides must agree.
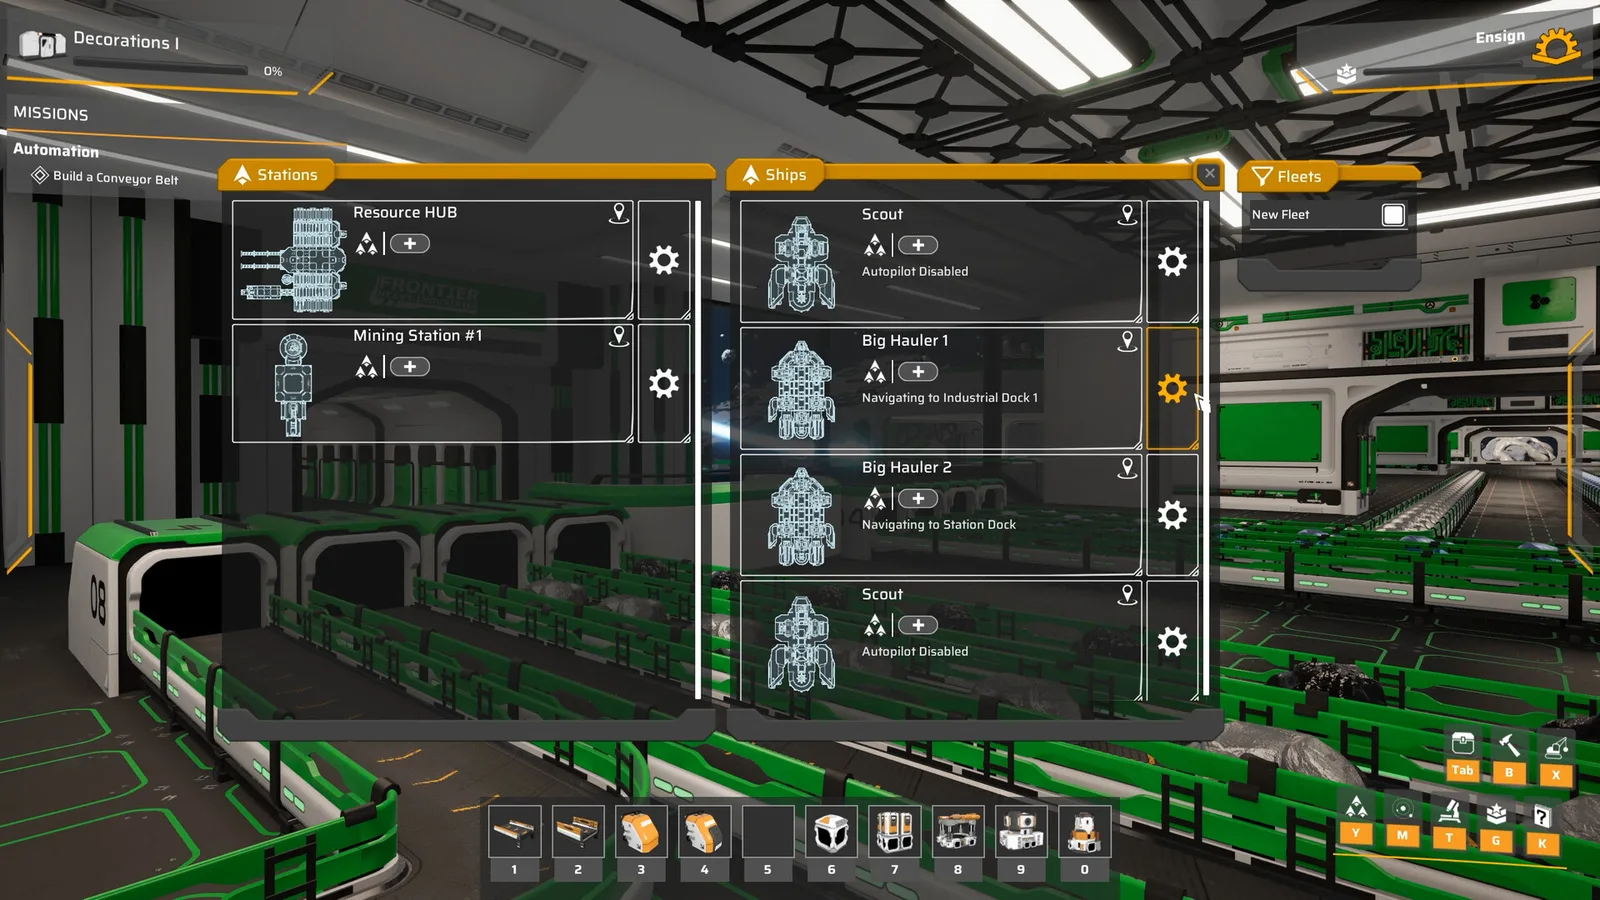
Power and station shape
Power is station-wide, so a module's distance from the generator does not matter electrically. It matters for belts. Put generation on the opposite side from the dock, and production between them, so the belt path is short and the power block is protected from the docking approach.
A reactor station should keep its fuel storage next to the reactor, not next to the dock. Hydrogen fuel is volatile enough conceptually that you do not want it crossing the whole base, and practically you want a short refuelling belt.
Station Armour is cheap at 5 Hull Plates per block. Add it to the side facing open space, not the side buried in the station. It is not a shield; it buys time against the relic defence network.
What to do when the station outgrows itself
Every station eventually becomes a maze. The fix is not to rebuild everything; it is to split functions:
- Move shipbuilding to a second station with its own shipyard and reactor.
- Keep the first station as a refinery and parts hub.
- Use haulers or supply routes between them.
Two medium stations are easier to manage than one giant station, and they give you redundancy. If the relic network attacks one, the other keeps producing.
For where to put the modules you just unlocked, see the factory layout guide→.
FAQ
Can I move my Command Module? You can remove and rebuild modules, but moving the anchor means rebuilding the connected graph. Choose the site carefully.
Why can't I delete a container? It still holds items. Empty it first.
How many docks do I need? One for a starter station, two or an Industrial Dock once you run ore, parts, and science simultaneously.
Do corridors need power? No. Power is station-wide; corridors are structural.
Is Station Armour worth it? Yes, on exposed faces. It is cheap and it delays damage from the relic network.
Official source: Main Sequence on Steam ↗ and the Steam news hub ↗.
Sources
- Main Sequence on Steam ↗ — station building and modular design.
- Steam news: 21 October 2026 hotfix ↗ — dock and drone bay filter fix.
- Steam news: Next Fest demo update ↗ — station and technology additions.
- Main Sequence on SteamDB ↗ — build reference.